


 |
| Getting ready to remove the passenger foot peg mounts. |
 |
| Now the hard part begins; grinding away all of the extra metal and welds. |
 |
| I cut the new mounting points for the rearsets out of 1/4" steel plate. |
 |
| Another view of the mounting points with the spacers removed. |
 |
| Here is a look at the wood mockup I made for the rearset mounts and the finished "blanks" for the steel rearset mounts. I made these out of the same 1/4" steel plate as the mounting points. |
 |
| I used a paper template as a guide for the hole placement. |
 |
| The holes were enlarged with a step bit from both sides to create clean, chamfered holes. |
 |
| Stainless hardware from BoltDepot.com |
 |
| A perfect fit thanks to many, many paper and wood mockups. |
 |
| This setup will be much more comfortable (at least for me) than using the passenger peg mounts as I've seen done on so many other bikes. |
 |
| After the issues I had with painters tape and foam I took a different approach. I used electrical tape to protect the edges that I didn't want foam to adhere to and then used gorilla tape without the painters tape under it. I only used painters tape for the sections that foam most likely wouldn't reach. |
 |
| Another view of the taped up plug before pouring. |
 |
| The remaining pieces of the plug skeleton have been glued and screwed in place. At this point I began taping up the tunnel to prep for foam. |
 |
| I used painters tape to protect the wood from the gorilla tape. By doing it this way I figured that I could get the strength of the gorilla tape but avoid having to scrape off the sticky crap it leaves behind when you peal it off. |
 |
| I covered the bottom with painters tape just in case the foam spilled over too much. I also reinforced the tunnel tape with gorilla tape. |
 |
| Getting ready to pour. |
 |
| I used red party cups to mix small batches to fill each of the cavities. The chemical reaction creates a good deal of heat. |
 |
| I used a combination of coping saws and brute force to break the excess foam free. The painters tape plan back fired a little. It did make it much easier to remove the gorilla tape but it wasn't strong enough to tear away from the foam. |
 |
| Here's another shot the plug after removing as much tape as I could by hand. |
 |
| I used an angle grinder to remove the rest of the tape and excess foam. This process produces a ton of fine dust that seems to cling to any surface it touches. I wore a respirator and googles at all times during the grinding and cleanup. |
 |
| The grinder would fit in the tunnel so I used a Demel MultiMax to cut out most of the excess foam from. I have to do the rest by hand with a rasp and some sanding blocks. |
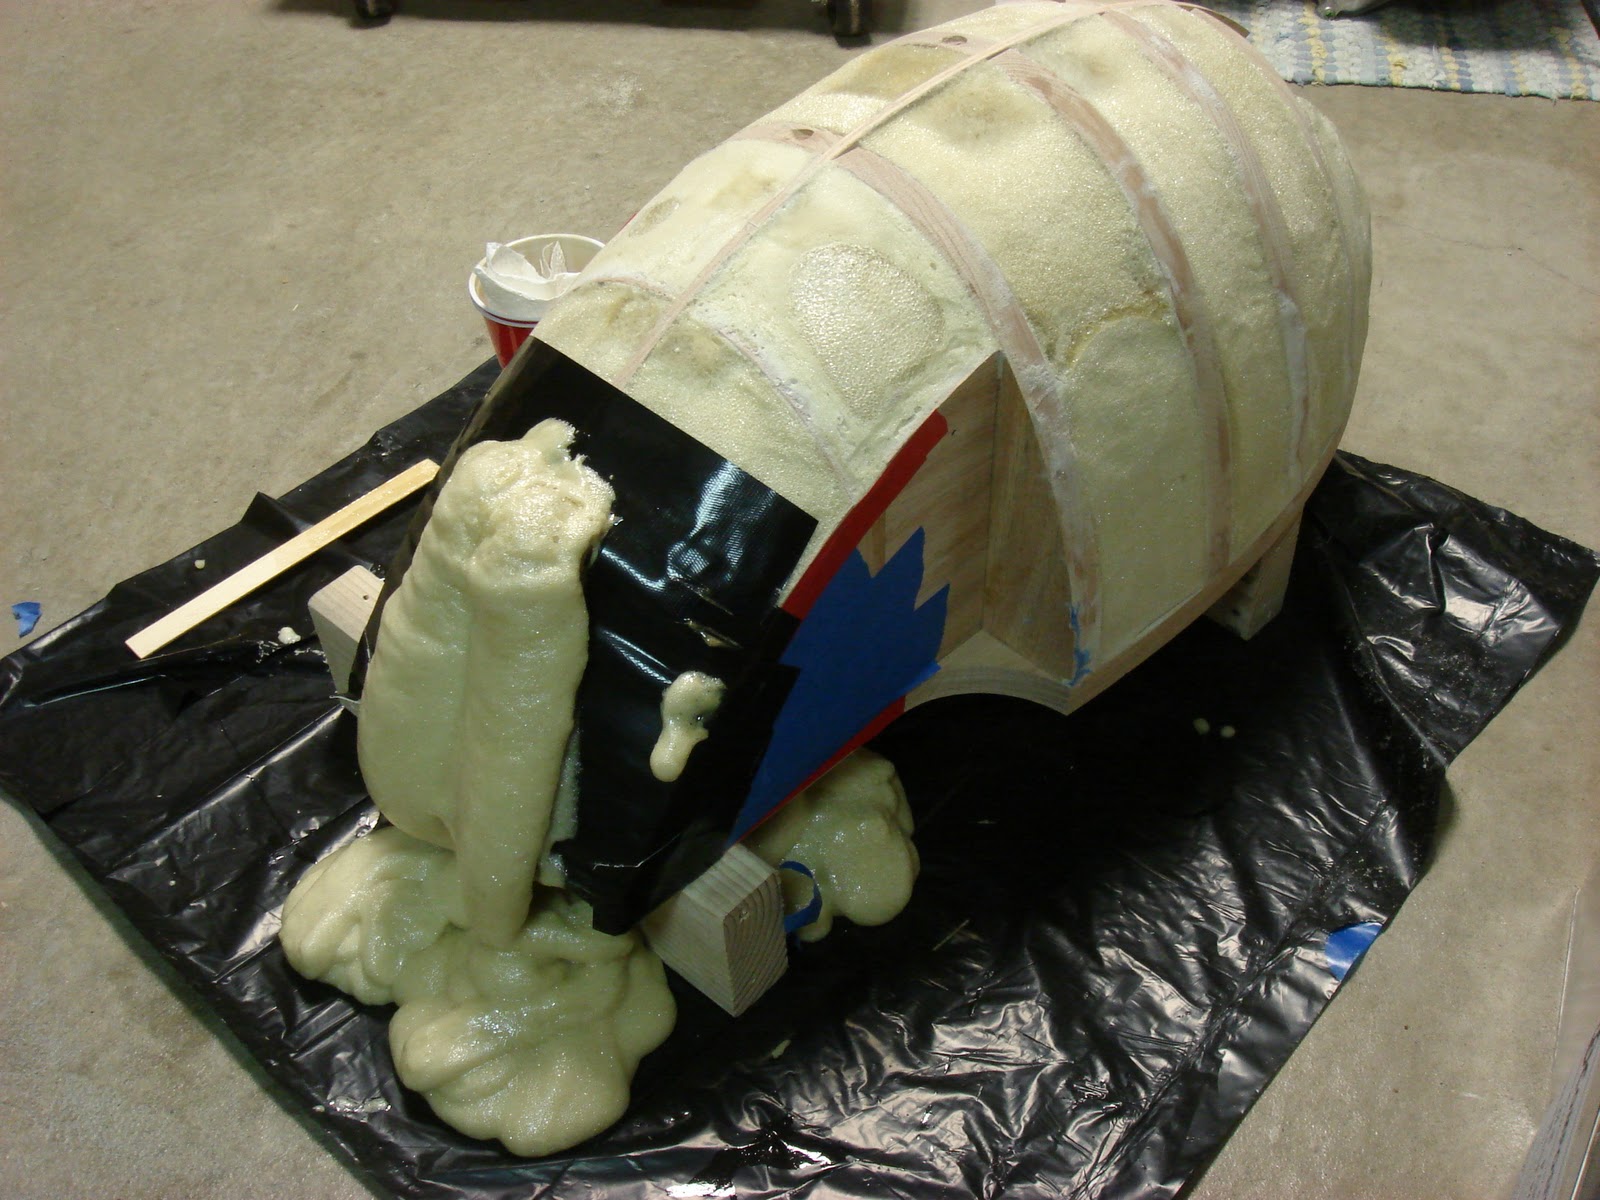 |
| Filling in the tail end of the tank |
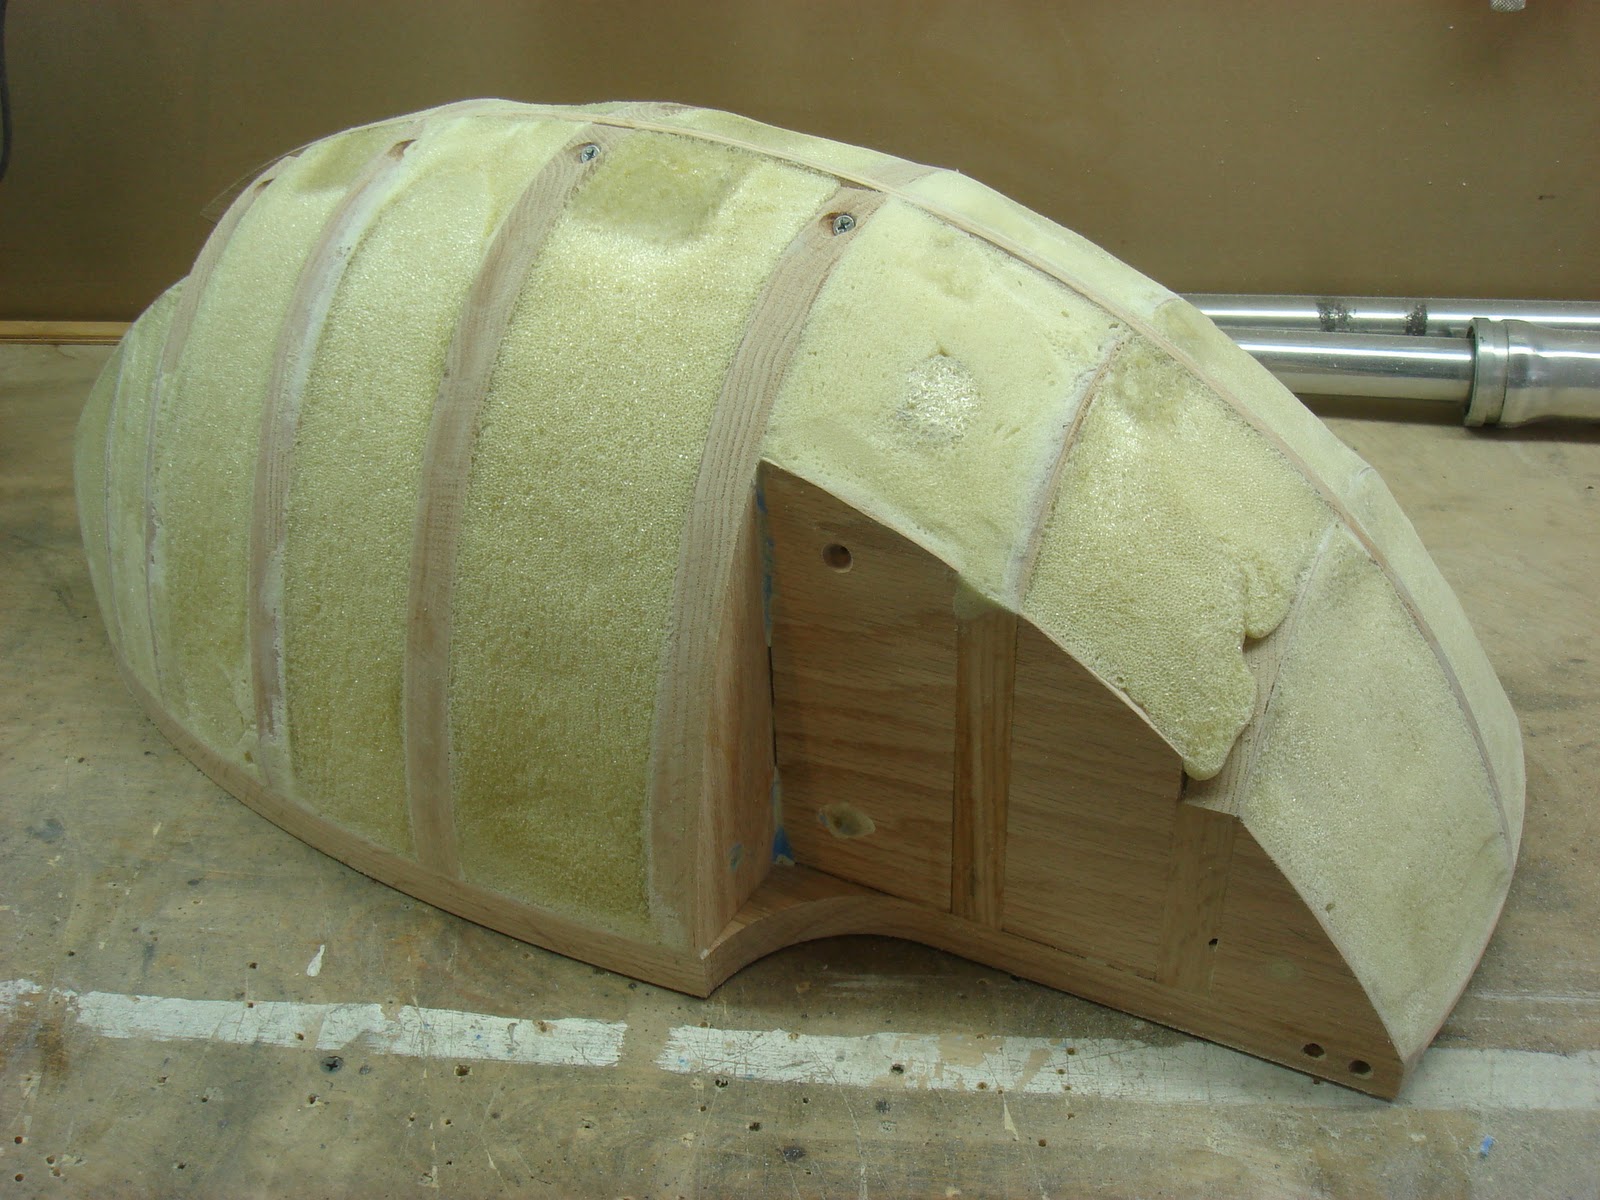 |
| I used the same process as before for the remaining foam. |
 |
| Another shot of the plug so far. |


